LAST spring I found this dresser on Craigslist and convinced Patrick to go with me to get it. After that, it roasted in our garage until the hottest month of the summer because I couldn't decided what to do with it.

Then my mom came to visit and we hit the project department hardcore and got a plethora of stuff done.

I was determined to make a cool room for the kpLOVE studio where Patrick and I could hang out and play music, and this grey dresser was going to make that happen, along with a spectacular vintage yellow corduroy 70's style couch I thrifted.

When the dresser was done, I gathered the man power to bring everything upstairs, but ran into some bodda-big issues when the couch wouldn't fit around the curve of the hallway into the room. Patrick and my brother tried every tetris skill that had, and even rubbed some dry wall off the surface of just about every corner up there.

My brother then convinced me if I let him cut one of the legs off the couch, he could for sure get it in the room........so that happened.......and yet, we ended up closing the day with a three legged couch sitting in the garage and an empty room with only a huge dresser sitting in it.

I had ideas, though, and despite being bummed about the couch, I was going to make this retro "House of Blues" inspired room work. Next on my list was taking some boring white curtains we already owned and making them look quilted. I started by cutting out lots of odd material shapes.

I wasn't even going to think about trying to sew every single mismathcing fabric piece on, so insert tons of fabric glue here and hours of labor later I had my "quilted curtains".

The "quilted" curtains were trouble enough, but I had no idea what I was in for when I took on the task of entirely covering a vintage lamp shade with buttons.
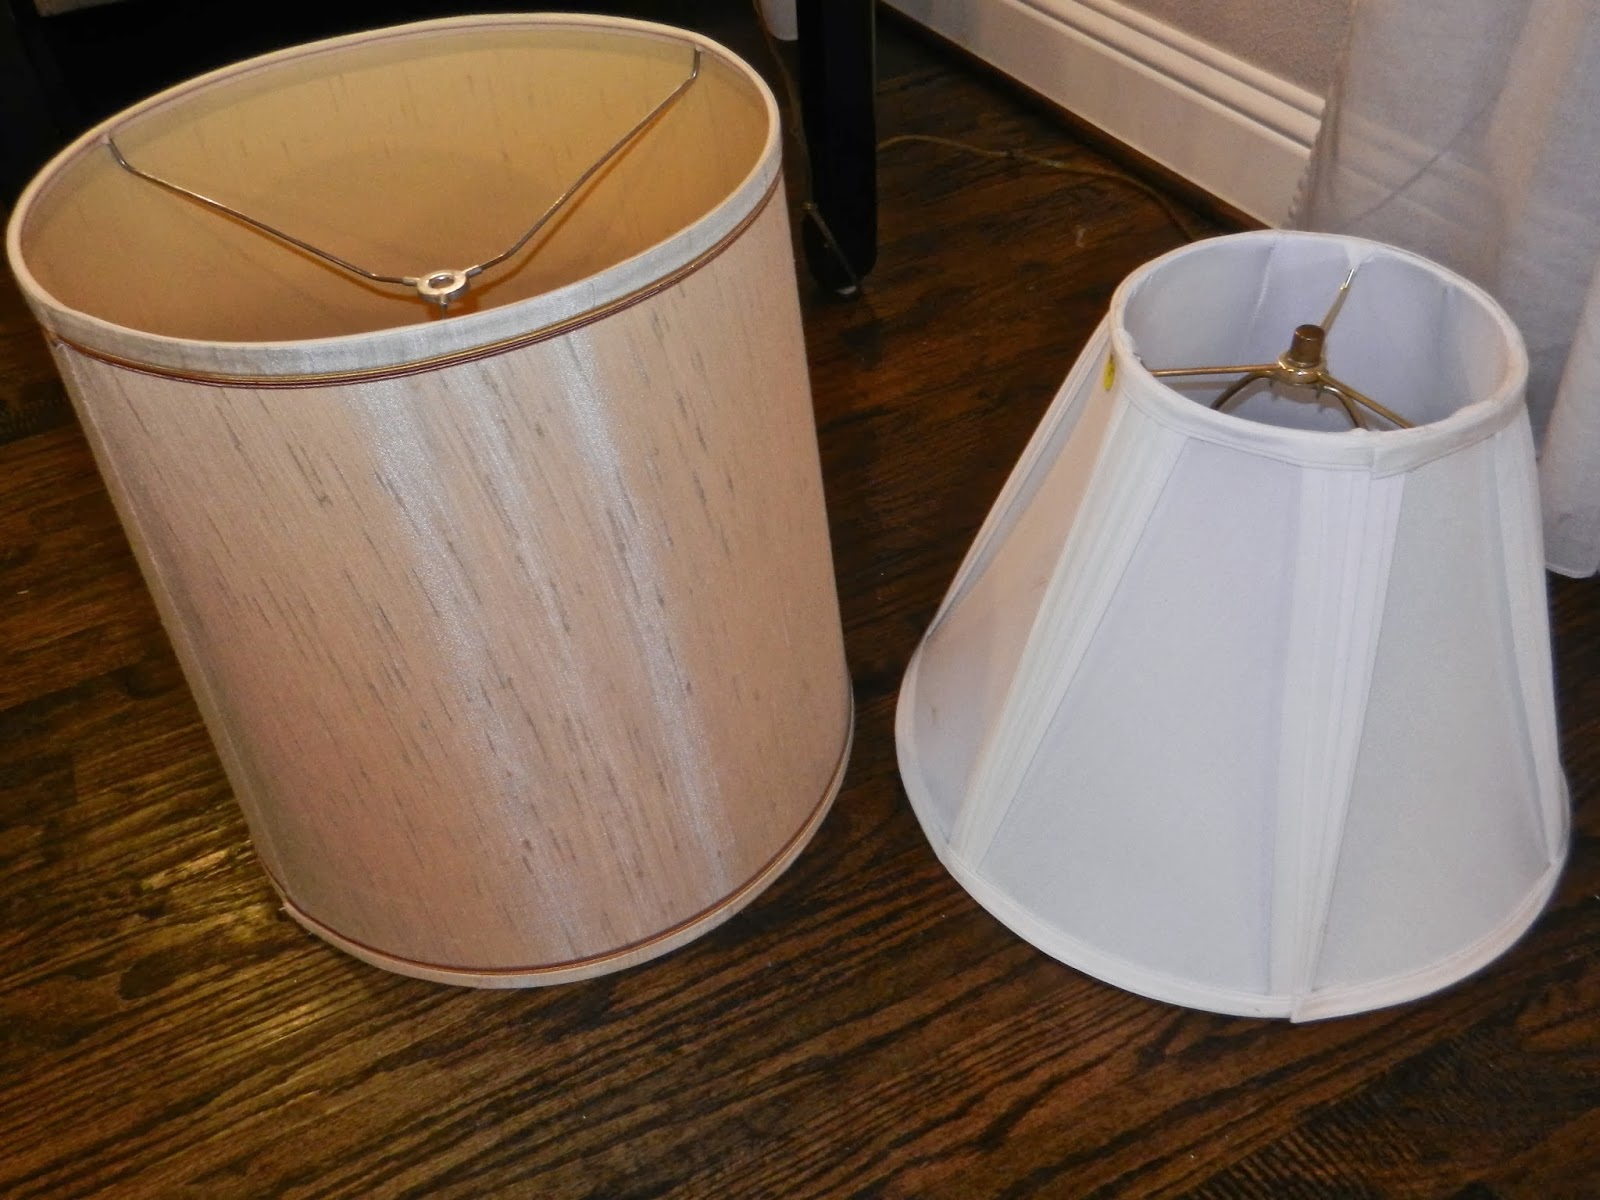
I spent $1 on the lamp shade and about a million dollars in buttons and E6000 glue.......and a billion more hours gluing the buttons on. Surface area on a lampshade exponentially expands like spaghetti in your bowl when you're tyring to do something like I did.

Word of advice....pick a small lamp shade OR space out your buttons instead of trying to prevent any part of the shade from showing. The entire project turned into a headache of a puzzle that could only be completed a little at a time, since E6000 is a very potent but slow drying glue.

Covering a shade with thrifted ties, on the other hand, was a piece of pie and very fun.

I started by lining them up in the order I wanted them around the lamp shade, so I knew just how many I needed and how it would look, then cut them down to a more manageable length, but still a little long.

Then I hot glued the top half of the tie to the shade.
Then I glued down the bottom part of the tie.

The next step was trimming off the excess length, leaving about an inch over the top of the shade

Lastly, I folded the excess length under, to create of cuffed or hemmed look and hot glued it in place.

To add to my lampshade theme, I completely stripped a shade down to it's frame and tied strips of fabric to the rim, letting everything hang free, to create a whimsical look.

The adorable birds hanging down the center came from World Market.

The last shade was the easiest, requiring just a little hot glue and a strip of pom garland around the base.

I'd got over the couch, found a comfy rocker at the Salvation Army, a roomy storage ottoman at the Antique Mall/Flee Market, dressed them both up, painted and replaced the knobs on an adorable little sewing table I found to coordinate with the dresser, put it all together, and BOOM!

We now had a functional and cozy corner for chillin' and making music.

Which, of course, has since changed since the the room will now be doubling as a nursery.

The next issue that needed attention was disguising the unsightly black pile of speakers, amps, and instruments in the corner of the room with something a little more cute.....like a room divider. Since I wasn't about to shell out the money for any of the room dividers I actually liked (such as the pretty wooden carved ones at World Market), it looked like I was going to have to create something.


Once I was satisfied with the second coat of paint, I waxed the tedious 220 slats, twice (once with the antiquing color, then again with the clear).

To finish the look, I had Patrick hinge the two bi-folds together to make a quad-fold and drill some holes for me to insert the glass knobs. After months of working on these until I was fed up, taking a break, and restarting the cycle, I was finally finished!!! A total beat down, yes, but very cost effective.
So......long story short......it turned out to be a good thing we couldn't fit the couch in the room!!!!!
And in the room next door, we finally have a light fixture!!!
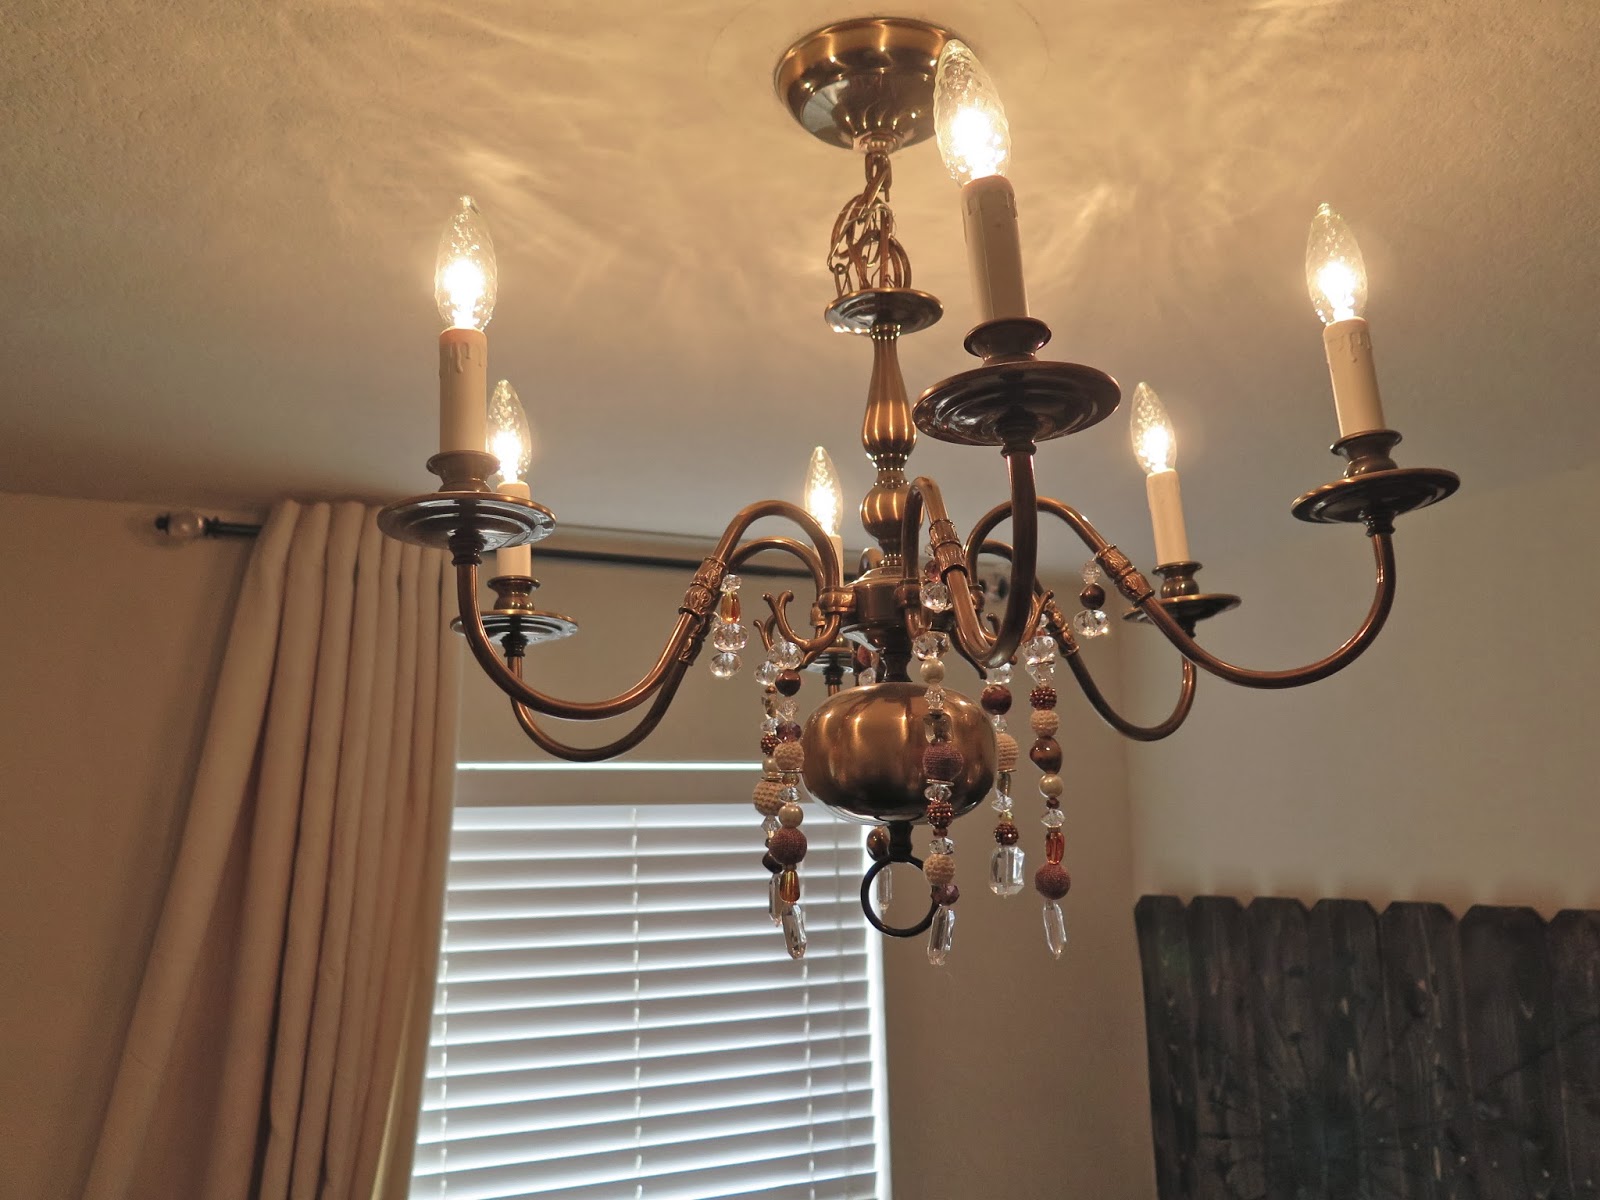
The original chandelier that I'd made-over antique white was just too big for the space, proven by Patrick repeatedly knocking his noggin on it, so he moved it to the dining room, which looks beautiful, but left our guest bedroom without main lighting.


Now it coordinates perfect with the old style fan in our cozy cottage room!