Wednesday, February 26, 2014

Raincloud and Rainbows Mobile DIY

I wanted to try something new from the ol' scrapbooking paper mobile I've made in the past. After deciding on a theme (rain clouds, raindrops, and rainbows), I committed to creating it with felt and then the experimental mobile project began!

Supplies:
Sheets of Felt, colors your choice
Cotton of some sort (I used cotton balls because I already had lots at home)
Something long and skinny (I used a wooden kabob skewer)
Pin Needles
Material Scissors
Needle and Thread, matching colors to your felt
Fishing String
Jewelry Beads
Jewelry Beading Clamps
Needle Nose Pliers
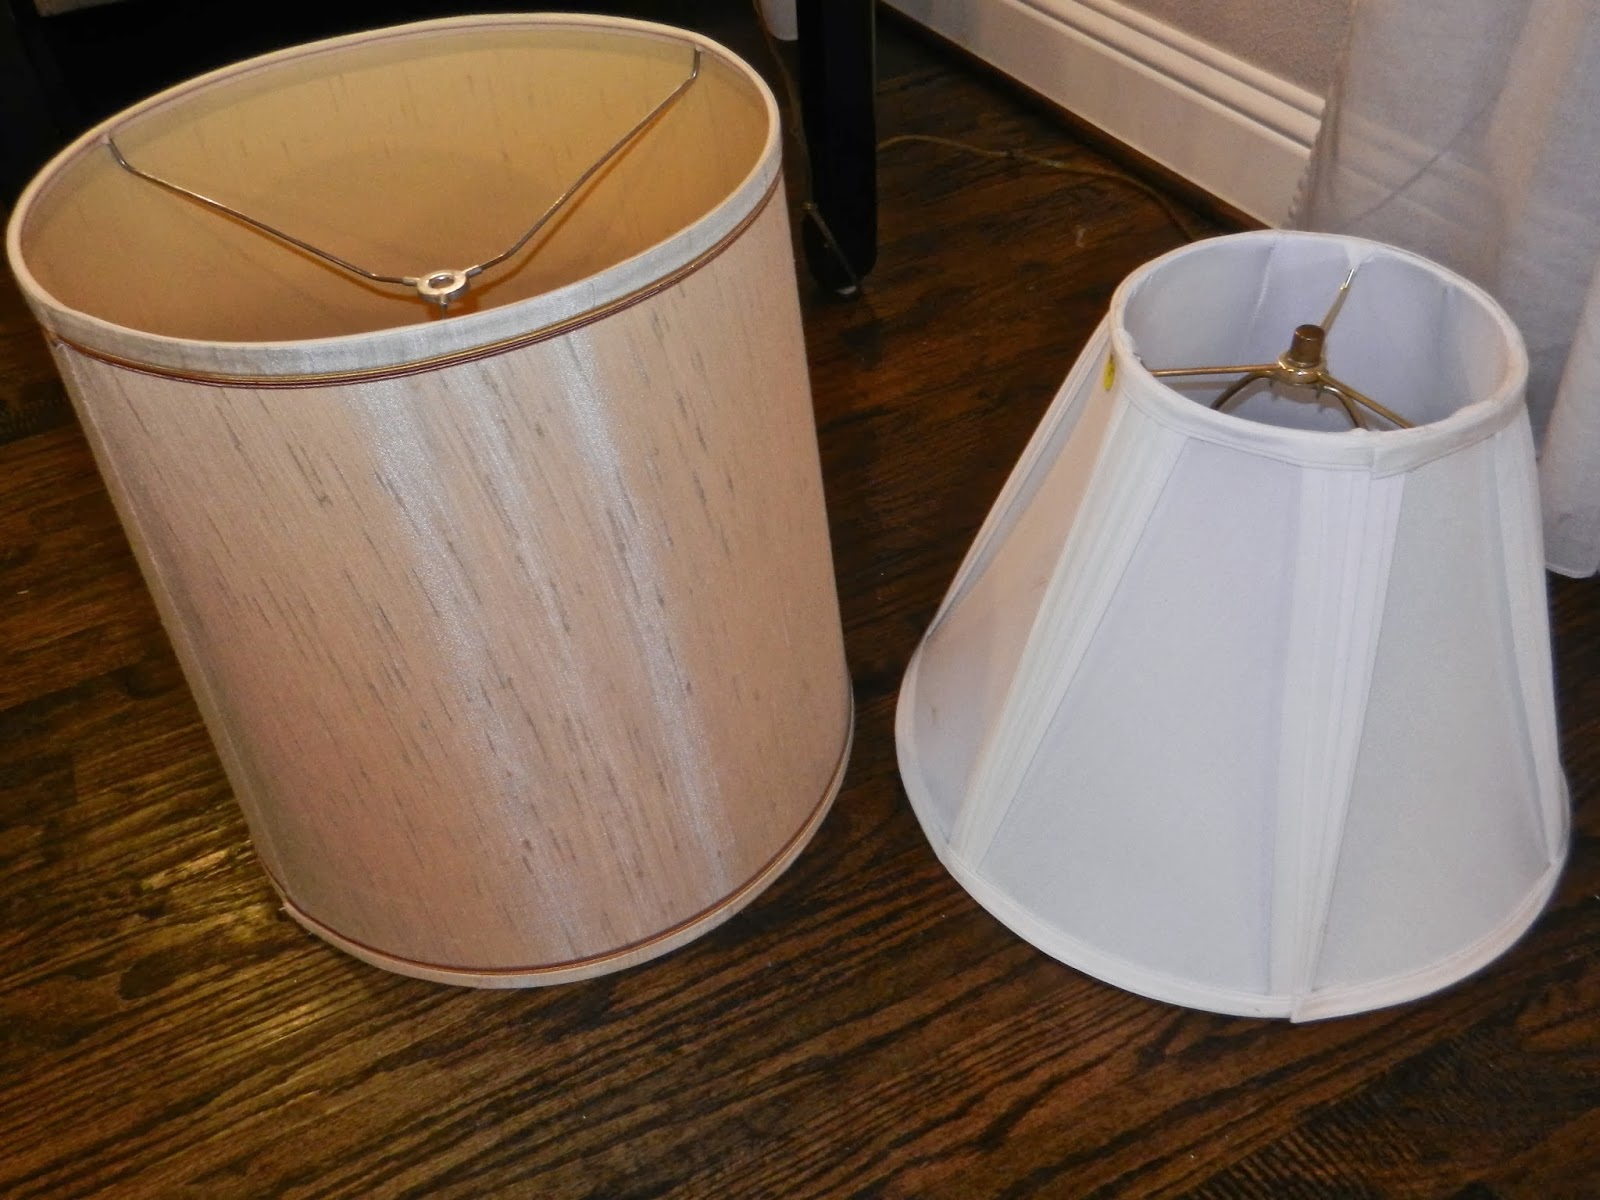
Old Lamp Shade

First, fold a sheet of felt over and pin in place in several places to ensure nothing slips while cutting (make the fold as wide as you plan on your cloud being).

I free style cut the clouds, making them randomly unique.

Once the cloud is cut out, adjust your pin needles to hold the two pieces of felt in place for sewing. 
Thread a needle with matching thread color and start hand stitching around the edges of the cloud.

When the cloud is about half-way sewn, it's time to start stuffing some edges. Those pesky edges are hard to reach if you sew too much of the cloud closed too soon.

Tug at the cotton balls to fluff them, then stuff into the bubbles and creases of the sewn part of your cloud.

Once all the nooks and crannies are stuffed, continue sewing your cloud around the edges until about 1 inch is left open.
Finish stuffing your cloud to be as poofy as your liking, then close it up completely with the needle and thread. 
Once your clouds are done, you'd better made yourself coffee, or in my case an iced caramel macchiato, because the rainbow is a doozy!!!
I don't think I could ever really adequately explain in words how I made this rainbow, but basically I folded all the felt in half (to make it two layers), and started by cutting the outside color as a huge solid arch (as in, it's not a "strip" of felt, it's a larger version of the purple piece you see). Then I pinned in on the next folded color of felt, orange, traced the red arch onto the orange, removed the red arch, and cut the orange arch about 1/4 inch smaller than the red one. I repeated the process until all the colors were cut, purple being the last. 
Then I separated the two layers of felt, making two rainbows, and individually sewed each color together, starting with the red and orang, and adding an inside color one at a time, using matching thread each time. Once the purple piece was sewed in place, I cut out the middle to make the arch complete. Then I embellished parts of the rainbow with little beads. 
If I was smart, I would have reversed the second rainbow before I sewed, so it could be the back of the first rainbow, but I DIDN'T, so the darn things wouldn't line up because they weren't perfectly symmetrical, so instead, I sewed a grey piece on the back of each rainbow.
And as always, when it was halfway sewn, I stuffed it with cotton, and finished stuffing it before completely sewn, just like the clouds. 
Once that was done, I decided I liked the embellished look, and sewed some beads on a few of the clouds. 
The rest of the project can be finished according to my instructions here, using fishing wire, beads, and metal jewelry making clamps to hold the beads in place. 
Modification #1, I stripped the lampshade using scissors and muscles, leaving only the pretty part on the edges. I wasn't happy with the white glue left on the wire parts, so I just sanded that off and made a huge mess in the living room doing so. 

Modification #2, when it came to the point of the fishing string to hang the clouds or rainbows, I just threaded the fishing string through a regular sewing needle and poked the needle through one side of the cloud/rainbow, and out the other, making sure it hung the way I wanted before I clamped a jewelry clamp in place underneath. If it didn't hang to satisfy me, I just pulled it out and started again. 
Did I mention you should set aside quite a few hours???
It was a little time consuming, but totally worth it, especially taking into account how much they cost at the store!!!!

Tuesday, February 25, 2014

Kicking Debut with a side of Cheetos: Week 25

Cotton is getting stronger and more active every week. This week I while I was watching American Idol, I started to feel some really big kicks, looked down and saw the outside of my belly hopping around as well!  I missed the biggest kicks, but you can see a couple in the video around 7 and 10 seconds, to the left. Now it happens a couple of times a day, but I'm so glad I got caught the very first time on video! 
Patrick got to feel a really big kick this week. His hand was on my belly, and my hand was on top of his, when BAM! It was so strong, you could see both our hands pop up. "Whoa! Was that the baby? It's like Cotton just head butted you or something!" 
The crazy thing is we have 15 more weeks of strengthening left!
I took care of a baby exactly Cotton's age this week and looked at it in a whole new light; so amazed at the little miracle that still needed assistance of some sort to survive, and so thankful that not only do I get to help make that happen, but also for each and every day Cotton still gets to stay in the womb and mature. In the eyes of a NICU nurse (and every mother who's loved and lost or gone through the battle of prematurity), every day and especially every week of pregnancy is a tiny triumph to never be taken for granted. 
I finally got back in the gym and boy oh boy did it feel good....until the next day when the lower half of my abdomen was ridiculously sore, with achy-ness lasting for a few days. I suppose it's just ligaments stretching, but I took it as a hint to slow down a little.
A serving of Cheetos is the perfect compliment to anything.....blackberries, mango, avocado...you name it! Cotton loves blackberries.....or as Patrick likes to say when the baby moves around a lot after I eat or drink something in particular, "probably hates them". 

Monday, February 24, 2014

Feeling Springy

I love when it starts to feel like Spring outside!! 
We've had our upstairs windows open around the clock for a week now, which makes it smell oh so good inside, and on Saturday we headed out for some family Vitamin D time. 
The pup's love to run around in circles with Patrick, and being in an open field just overwhelmed them with opportunities to roam! 
Already getting a little too toasty for our taste, eventually we made it to the other side of the park, for just a little shade from the direct sun.
Following the creek trail is always very exciting, since we never know what kind of critters will be rustling around the corner........
......and there's always that possibility of getting a fresh sip of water and dragging *our bellies in the current (*our, being from the puppies point of view).
It's really amazing how strong a tree's roots can be. There's so many victims of erosion out there hanging on for dear life by the very tips of their existence. 
I give them 2-5 years, maximum, before giving way to the harsh reality they face. 
Admits those verging on life end, was new life; little sprouts of green reaching towards the sun all over the park, and for this moment, I looked to be one of them. 
On glorious days like this, it's torturous that I can't go out for a run. 
I did jog, for about 30 seconds, just so I could pretend, in hopes of it posing as a fix......and then I skipped........and then Patrick made me stop. "Cotton's probably thinking, 'What the hell is going on right now?' You're shaking that baby all up in there!"
When it was time to turn around, we headed straight for the fountains, a tradition before getting in the car.
The puppies know exactly what "Are you thirsty" means. It's cute to watch their different techniques for drinking from the fountain. 
"Ahhh.......that felt good."
Now it's nap time. 

Thursday, February 20, 2014

You See....What Had Happened Was....(DIY Extravaganza)

LAST spring I found this dresser on Craigslist and convinced Patrick to go with me to get it. After that, it roasted in our garage until the hottest month of the summer because I couldn't decided what to do with it. 
Then my mom came to visit and we hit the project department hardcore and got a plethora of stuff done. 
I was determined to make a cool room for the kpLOVE studio where Patrick and I could hang out and play music, and this grey dresser was going to make that happen, along with a spectacular vintage yellow corduroy 70's style couch I thrifted. 
When the dresser was done, I gathered the man power to bring everything upstairs, but ran into some bodda-big issues when the couch wouldn't fit around the curve of the hallway into the room. Patrick and my brother tried every tetris skill that had, and even rubbed some dry wall off the surface of just about every corner up there. 
 My brother then convinced me if I let him cut one of the legs off the couch, he could for sure get it in the room........so that happened.......and yet, we ended up closing the day with a three legged couch sitting in the garage and an empty room with only a huge dresser sitting in it. 
I had ideas, though, and despite being bummed about the couch, I was going to make this retro "House of Blues" inspired room work. Next on my list was taking some boring white curtains we already owned and making them look quilted. I started by cutting out lots of odd material shapes. 
I wasn't even going to think about trying to sew every single mismathcing fabric piece on, so insert tons of fabric glue here and hours of labor later I had my "quilted curtains". 
The "quilted" curtains were trouble enough, but I had no idea what I was in for when I took on the task of entirely covering a vintage lamp shade with buttons. 
I spent $1 on the lamp shade and about a million dollars in buttons and E6000 glue.......and a billion more hours gluing the buttons on. Surface area on a lampshade exponentially expands like spaghetti in your bowl when you're tyring to do something like I did. 
Word of advice....pick a small lamp shade OR space out your buttons instead of trying to prevent any part of the shade from showing. The entire project turned into a headache of a puzzle that could only be completed a little at a time, since E6000 is a very potent but slow drying glue. 
Covering a shade with thrifted ties, on the other hand, was a piece of pie and very fun. 
I started by lining them up in the order I wanted them around the lamp shade, so I knew just how many I needed and how it would look, then cut them down to a more manageable length, but still a little long. 
Then I hot glued the top half of the tie to the shade.
Then I glued down the bottom part of the tie.
The next step was trimming off the excess length, leaving about an inch over the top of the shade
Lastly, I folded the excess length under, to create of cuffed or hemmed look and hot glued it in place. 
To add to my lampshade theme, I completely stripped a shade down to it's frame and tied strips of fabric to the rim, letting everything hang free, to create a whimsical look. 
The adorable birds hanging down the center came from World Market. 
The last shade was the easiest, requiring just a little hot glue and a strip of pom garland around the base. 
I'd got over the couch, found a comfy rocker at the Salvation Army, a roomy storage ottoman at the Antique Mall/Flee Market, dressed them both up, painted and replaced the knobs on an adorable little sewing table I found to coordinate with the dresser, put it all together, and BOOM! 
We now had a functional and cozy corner for chillin' and making music.

Which, of course, has since changed since the the room will now be doubling as a nursery.
The next issue that needed attention was disguising the unsightly black pile of speakers, amps, and instruments in the corner of the room with something a little more cute.....like a room divider. Since I wasn't about to shell out the money for any of the room dividers I actually liked (such as the pretty wooden carved ones at World Market), it looked like I was going to have to create something. 
I bought these shutters for a steal, but they were painted with a cheap, peeling, white latex paint, so I had no choice but to hand scrape 220 slats, front and back. Then I had to paint 220 slats, twice, because for whatever reason, the paint went on streaky. I guess if I had a sprayer, like all the fancy people do, this project would have been less tedious, but I since I don't, I had to get all the nooks and cranny's the hard way.
Once I was satisfied with the second coat of paint, I waxed the tedious 220 slats, twice (once with the antiquing color, then again with the clear). 
To finish the look, I had Patrick hinge the two bi-folds together to make a quad-fold and drill some holes for me to insert the glass knobs. After months of working on these until I was fed up, taking a break, and restarting the cycle, I was finally finished!!! A total beat down, yes, but very cost effective.
So......long story short......it turned out to be a good thing we couldn't fit the couch in the room!!!!!
And in the room next door, we finally have a light fixture!!!
The original chandelier that I'd made-over antique white was just too big for the space, proven by Patrick repeatedly knocking his noggin on it, so he moved it to the dining room, which looks beautiful, but left our guest bedroom without main lighting. 
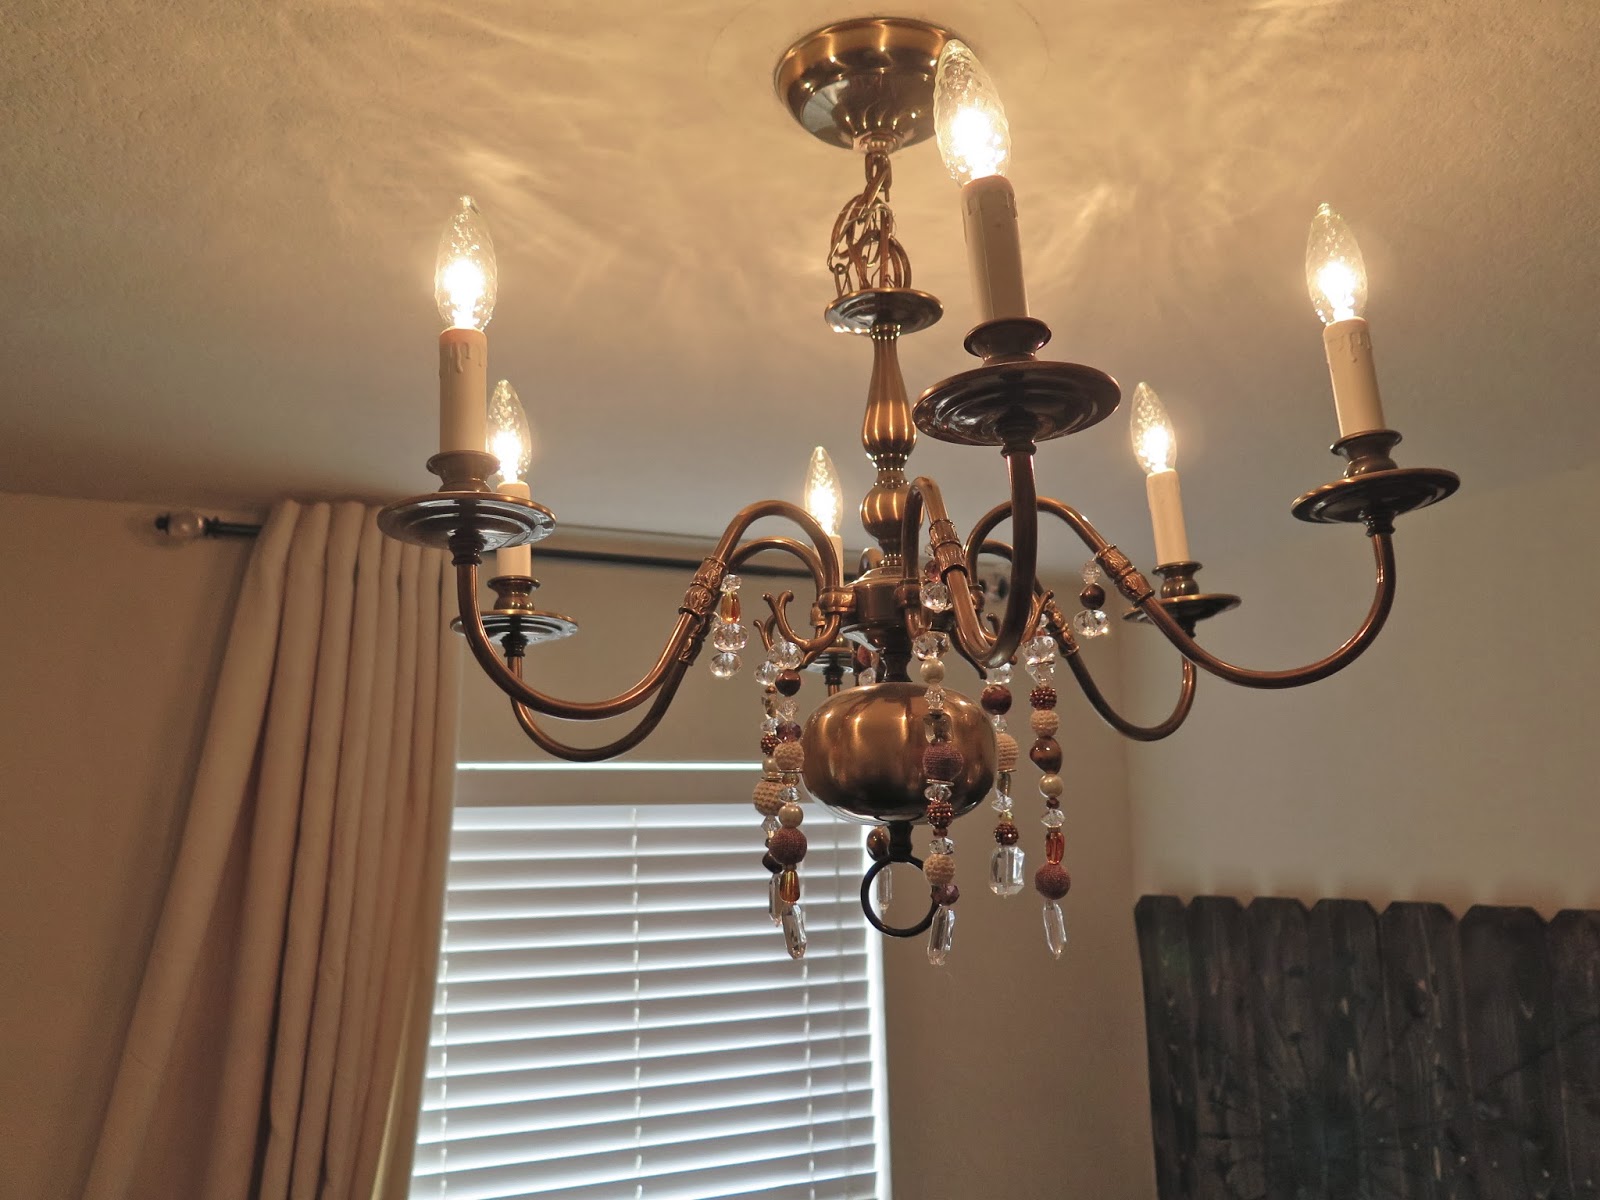
 It took me a bit of searching, but finally found this smaller dark brass chandy for only $30 at Habitat for Humanity Restore, spray painted the crusty old yellow "melting candle" light bulb holders an antique white, and jazzed up the rest with some pretty beading.
Now it coordinates perfect with the old style fan in our cozy cottage room!


KpLoving It Copyright © 2011 -- Template created by O Pregador -- Powered by Blogger